
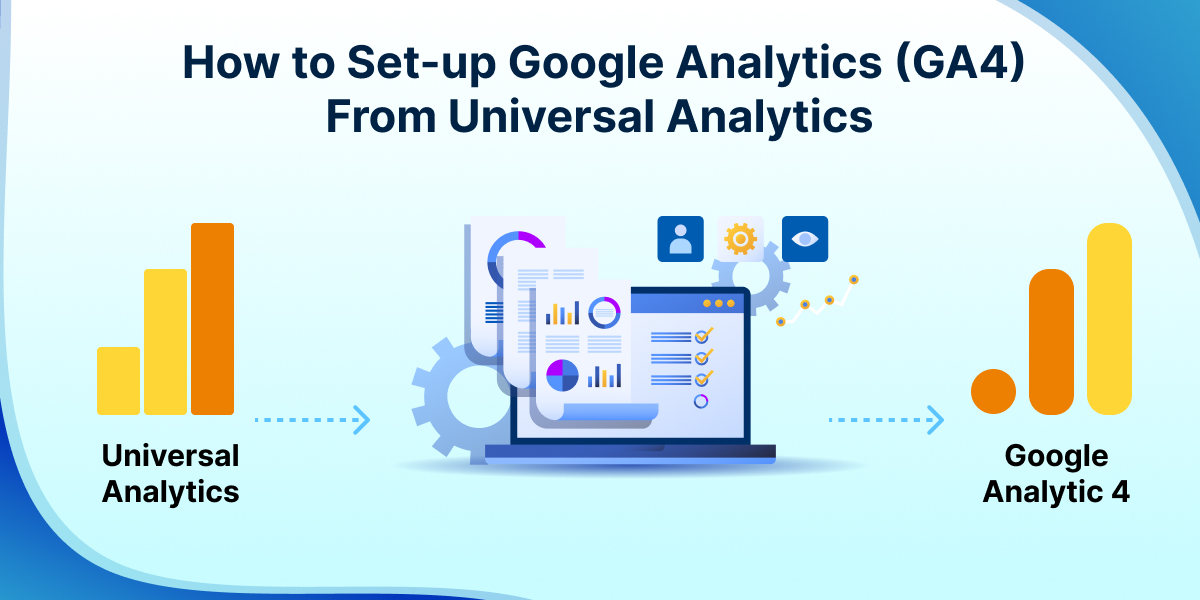
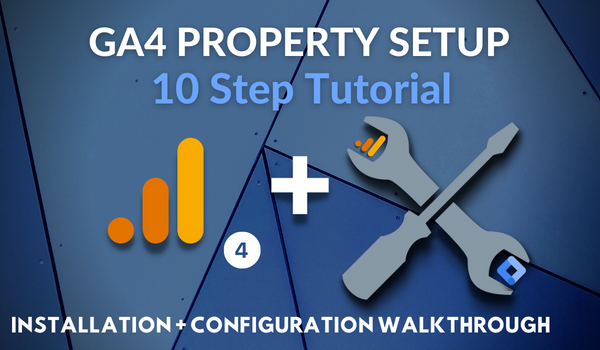
Step-by-Step GA4 Installation and Setup Best Practices
Google Analytics 4 (GA4) setup begins with creating an account, property, and web data stream to obtain a Measurement ID (starting with "G-"), followed by installing the tracking code via one of three primary methods: plugin/integration, gtag.js (manual), or Google Tag Manager (GTM).
1. Create GA4 Account, Property, and Web Data Stream
- Sign in at analytics.google.com with a Google account.
- Click Start measuring or go to Admin > Create > select Account (or Property if account exists).
- Enter Account name (e.g., business name).
- For the Property:
- Add Property name (e.g., website name).
- Select Reporting time zone and Currency for accurate reports.
- Fill Industry category, Business size, and select at least one Business objective (e.g., "Generate leads"; choose "Get baseline reports" for full lifecycle coverage).
- Click Create, accept terms, and adjust country if needed.
- In Property settings > Data Streams > Add stream > select Web.
- Enter Website URL and Stream name (e.g., business name).
- Click Create stream to generate your Measurement ID (found in Admin > Property Details). Best Practice: Use descriptive names for easy management; set time zone to match your primary audience for precise reporting.
2. Choose and Implement Installation Method
Select one method based on your site (e.g., WordPress, custom code). Always verify via GA4 DebugView or Real-time reports post-install.
Method 1: Plugin/Integration (Easiest for CMS like WordPress or platforms like Real Geeks)
- WordPress: Install "Google Analytics Plugin for WordPress by GA4WP" via Plugins > Add new > search and install > activate > paste Measurement ID.
- Real Geeks: Go to site.com/admin > Site Settings > paste Measurement ID in GA4 field > Save.
- Other platforms: Use built-in integrations (e.g., Shopify, Wix). Best Practice: Ideal for non-developers; ensures automatic updates.
Method 2: Manual gtag.js (Direct Code Install)
- In GA4 Admin > Data Streams > select your web stream > Google tag > View tag instructions > Install manually.
- Copy the full JavaScript snippet (from
<!-- Google tag (gtag.js) -->to</script>). - Paste in
<head>of every page (or use a site-wide header tool). Best Practice: Use for simple sites; test on staging first to avoid live disruptions.
Method 3: Google Tag Manager (GTM) (Recommended for Flexibility and Multiple Tags)
- Create GTM account/property at tagmanager.google.com.
- In GA4 stream details > copy Measurement ID.
- In GTM: Admin > New > GA4 Configuration tag > paste Measurement ID > select All pages trigger > Save.
- Preview mode to test > Submit > name version (e.g., "GA4 installed") > Publish. Best Practice: Manages future tags (e.g., events, conversions); enables consent mode for privacy compliance.
3. Verify and Configure Post-Installation
- Check GA4 Real-time report: Visit your site; events should appear within seconds.
- Use DebugView (Admin > DebugView) with browser console open (enable Debug mode via URL param
?debug_mode=1). - Enhanced setup:
Configuration Steps Why? Audiences Admin > Audiences > New Audience > define by behavior. Targets ads/remarketing. User Access Admin > Property Access Management > add users with roles. Secure team collaboration. Events/Conversions Configure via GTM or GA4 UI for goals (e.g., purchases). Tracks business outcomes. Best Practice: Enable Enhanced measurement (auto-tracks scrolls, outbound clicks); link to Google Ads/Search Console for fuller insights; review data privacy (e.g., anonymize IPs).
Common Pitfalls and Tips
- GA4 replaces Universal Analytics; migrate old data via export if needed.
- No code access? Prioritize plugins/GTM.
- Test across devices/browsers; data lags 24-48 hours for standard reports.
- For apps, select App stream and follow SDK instructions.
This process typically takes 15-60 minutes; data collection starts immediately upon verification.


Maple Ranking offers the highest quality website traffic services in Canada. We provide a variety of traffic services for our clients, including website traffic, desktop traffic, mobile traffic, Google traffic, search traffic, eCommerce traffic, YouTube traffic, and TikTok traffic. Our website boasts a 100% customer satisfaction rate, so you can confidently purchase large amounts of SEO traffic online. For just 720 PHP per month, you can immediately increase website traffic, improve SEO performance, and boost sales!
Having trouble choosing a traffic package? Contact us, and our staff will assist you.
Free consultation